Hello Friends!!
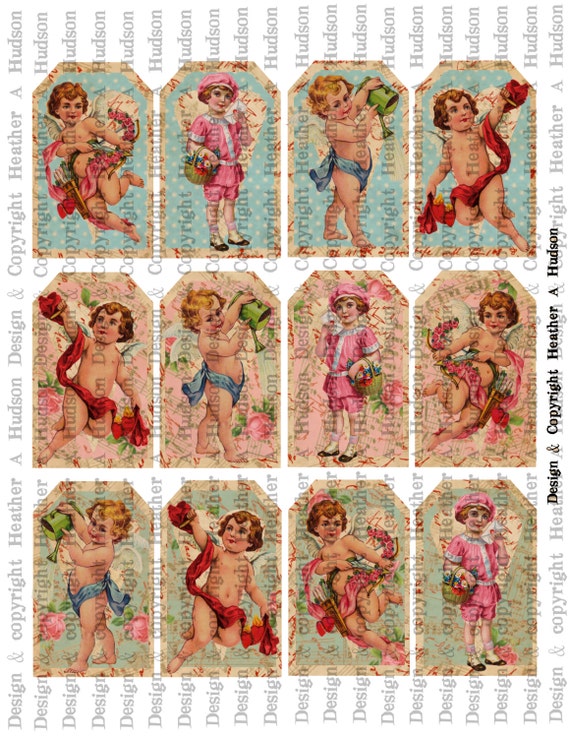
Today...I thought I would create a tag using one of my favorite Collage sheets that I designed a couple years ago.
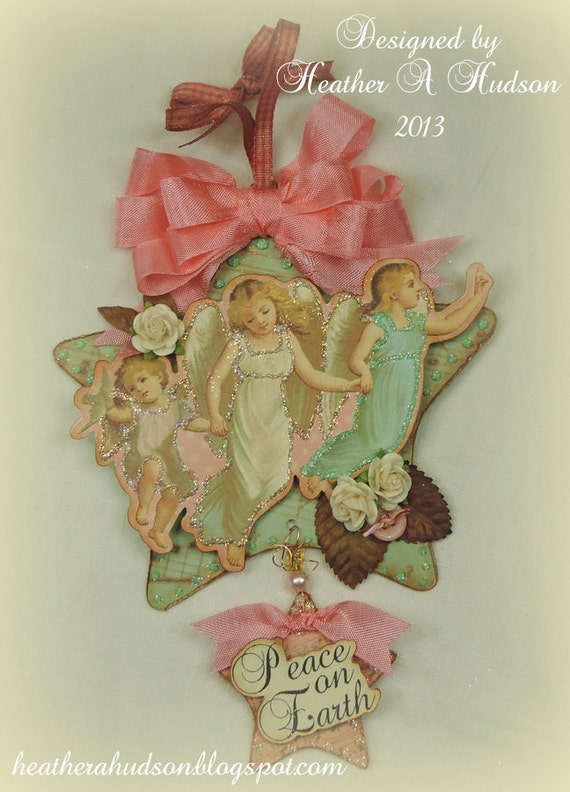
The original piece I made using the sheet was the ornament below.
I know a few of you who have this sheet and there are some of you who do not, so I thought I would go ahead and create another beautiful project using the same sheet.
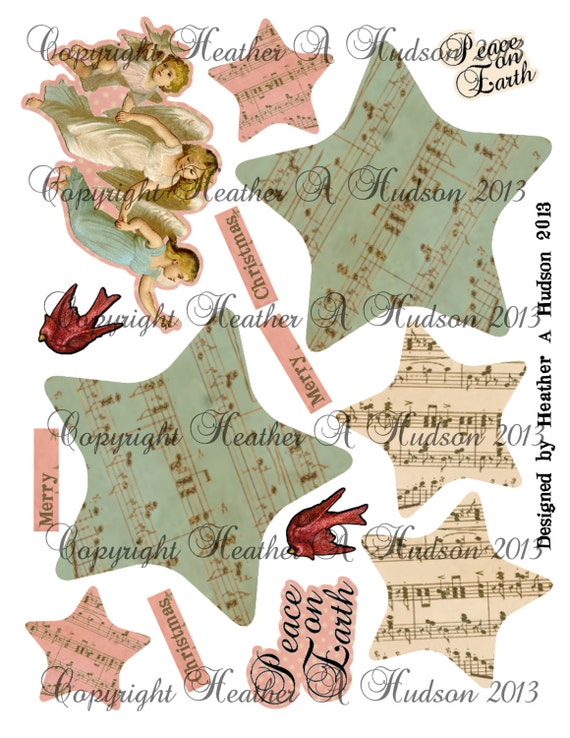
I cut out all of the pieces I thought I would use from one print out of the sheet. Inked all the edges with Frayed Burlap distress ink.
I placed my Star image on the tag base.
Here is the back of the tag....I used the other star base...lined them up so the back would look pretty too. I also used Rosemary Crochet Lace.
I added some Tombow Foam Tabs to the back of my Angel image. Then decided I would tuck the other creamy star under the angels. But first I want to add something to it.
I used Scor tape to put my large star and my pink little star on top of my creamy star. I did the same to my cardinal images. I wrapped the Creamy & Pink stars with Cotton Candy Baker's Twine and brought the ends up through the button holes to create a bow. I tucked my favorite Moss green Leaves under the button.
If you look at my cream star, I did my best to match up the other cream star on the back of the tag too. I used glue to make sure my button stays in place. I used my Crop O Dile to punch a whole in the top of the star. I added my Merry Christmas text boxes.
You know....you could call this tag done at this point if you liked.
Just add ribbon at the top...
Above I added Fauna glitter from Art Glitter to the edges of the tag base, Angel wings and the one's dress. Below you will see the areas that were covered with the Just peachy pink glitter that is piled on my piece in the photo above.
Next I added some Water Color Glitter...to the large star edges. Yummy!!
Then I realized I needed to add it to the one Aqua colored Angel dress as well.
The smallest Angel ...I added more of the Just peachy color...in my original project I used Fauna.
Last...but not least...I added some Fire Engine Red glitter to the Cardinals! It is really important to let your freshly glittered glue time to dry...so you don't accidentally smudge it :0) I suggest starting out with your lightest colors :0)
Here is is after it has dried...and I used a mop brush to gently wipe off any excess glitter.
I will be sharing with the following Challenges
(my star images have music notes)
Thank you for visiting!!
I hope you like my new tag.
Hugs!!
Heather