
Hello Friends!!
I hope you are having a fabulous day!
Today's post is all about AMOUR...or Love...but Amour sounds more lovely..lol.
Today I would like to share with you a Victorian Inspired Romantic Valentine's Day Banner that I created for our
All you need to do is create a Valentine's Day themed project using an SVG file. Then get some photos and link up!!
I can't wait to see what you create!!
On to the Banner

It is sooo hard to get a great photo of a banner in Michigan this time of year! Actually any time of year...LOL.
I used Cindy's Heart, Cupid, and Love Svg which you can purchase for $1.00 just follow this link. You can't pass that up!
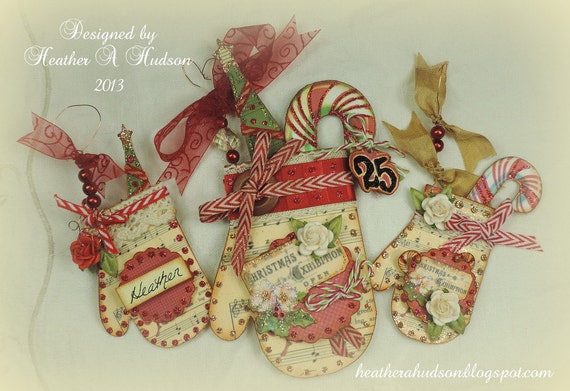
Here are some close ups of my banner and specifically Cindy's SVG file pieces.

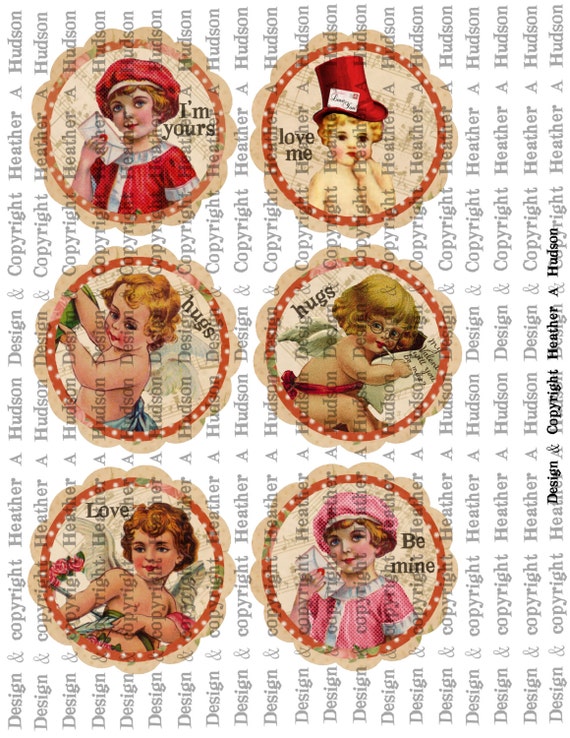
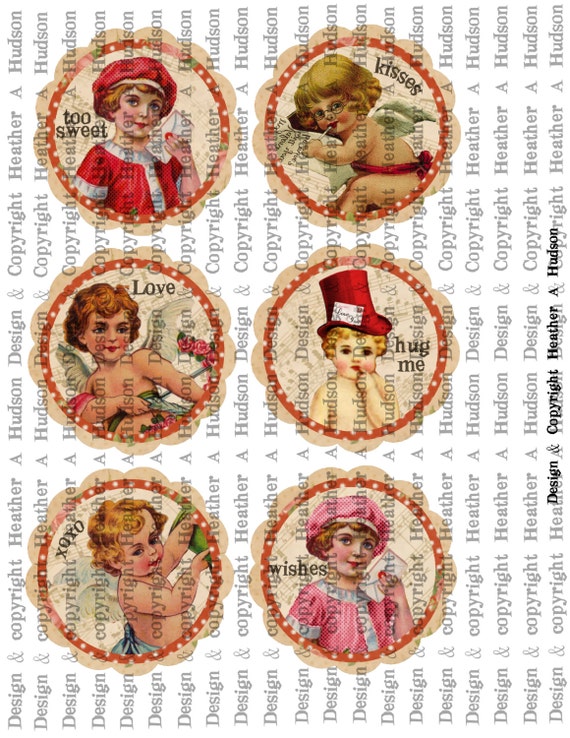
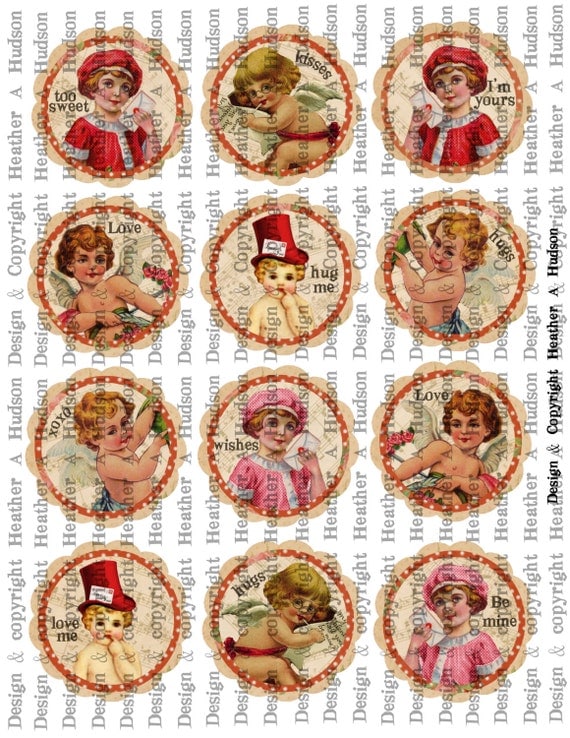
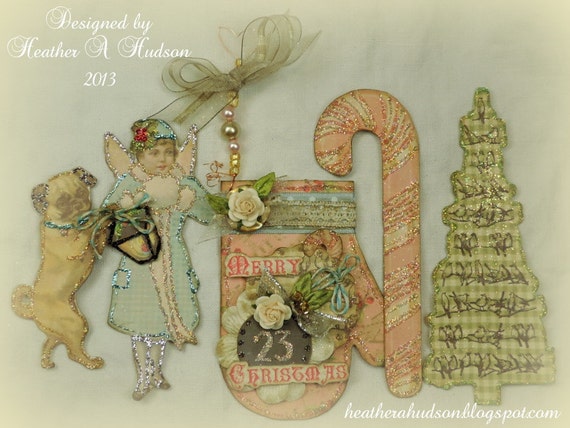
Yummy Delish!! It alone would be a splendid Valentine gift. I just love LOVE these colors. Let me tell you how I went about creating this. I used my Primitive Heart Pocket, for the base of my center piece, I layered in a cream scallop circle, then I added the cupid tags for my focal, and used my perfect layer's ruler to create an 1/8 inch mat around it from one of my Shabby Blue Sparrow Tail banner pieces. I Then layered on one of my Banners, using pop dots, so the tag will slide in and out okay. Added the letters for "Peter" from my,
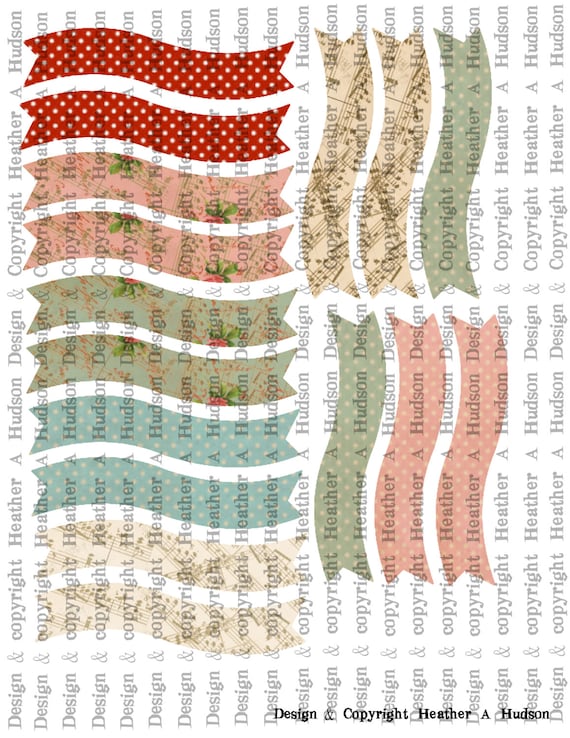
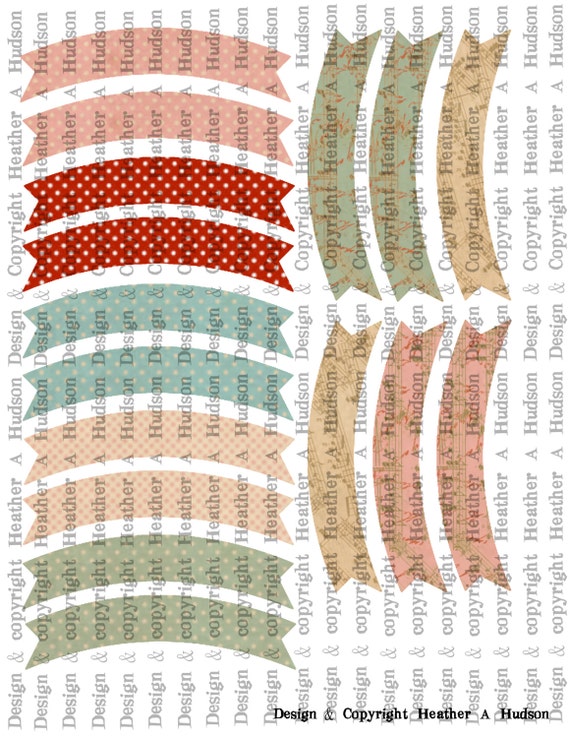
I used Cindy's svg file and cut out the LOVE, hearts and cupid from the larger size banner pieces. That way everything would match nicely.


See how my sweet little tag comes out.
BTW...Peter is my Sweetheart :0)
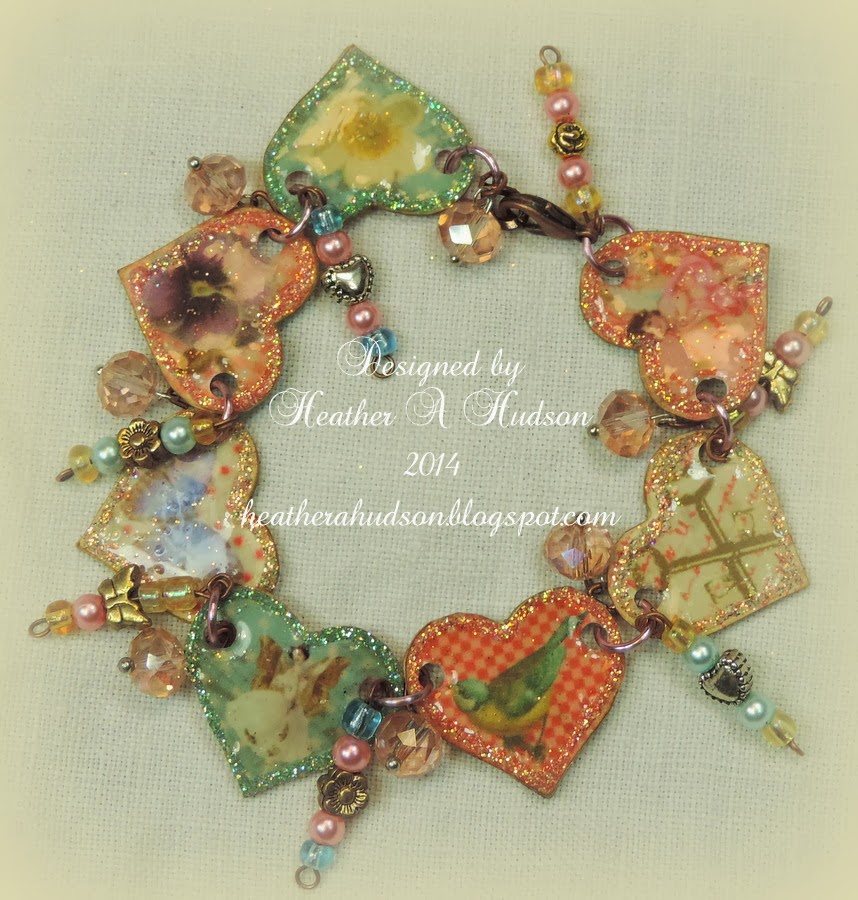
I used lots of goodies from Really Reasonable Ribbon!! Natural crochet lace, Juliet Lace, Peppermint Baker's Twine, salmon, havana brown, cream and bay leaf green seam bindings. Buttons , and mulberry roses too!!
Banner Pieces Left to Right
Honestly each one would look great alone as a tag.
Or...just use all the same shapes and create a same shaped banner.
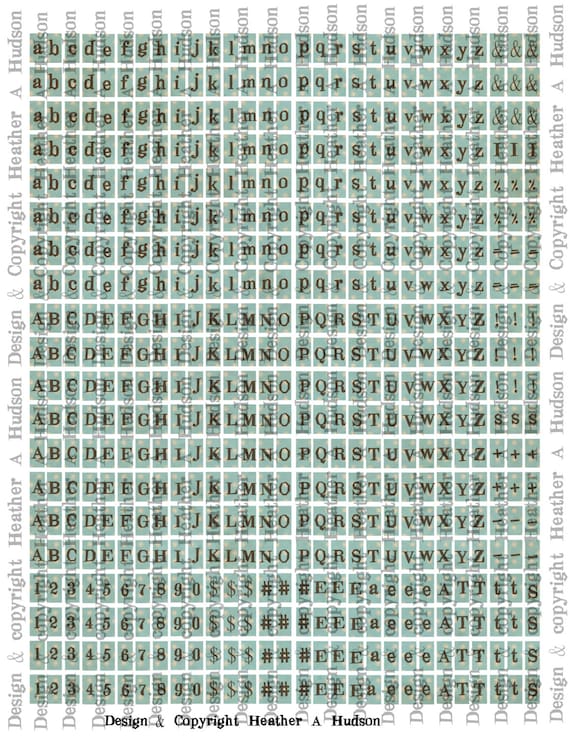
Chocolate Scallop Base, ivory scallop, topped with a Banners, then the cupid tags (again matted with the shabby blue like above). Hearts cut from the Pink and Chocolate Sparrow Banner sheets. Ivory Alphabet boxes were used to spell out "Kiss"
I used the same Art Glitters through out my project. #261 Storm
#208 Fauna, #349 Garnet, #162 Just Peachy, #267 Cheeky Pink and #287 Arbor as well as my Art Glitter Designer dries clear Glue & Ultra fine Metal Tip.

Pink Heart Base, Banners, Valentine Scallop Focals, and Conversation Hearts sheets were used on this banner piece as well as the one below. I have more mulberry roses, peppermint baker's twine, and button from RRR.
I used my Bow-It-All tool to tie my bows!

Awww...too cute!! LOL...
Here is the last banner piece

Chocolate Scallop Base, ivory scallop, topped with a Banners, then the cupid tags (again matted with the shabby blue like above). Hearts cut from the Pink and Chocolate Sparrow Banner sheets. Ivory Alphabet boxes were used to spell out "XOXO"
I cut the Juliet lace, each scallop, then cut them at an angle, so they look like a little bow under my button at the top.
Photos of the banner
Left to Right

Next

Next

Last Pieces

I hope that you have enjoyed my Post today!
I hope that you will come and join me for our
Valentine Challenge at the
I can't wait to see what you link up!
I will be playing along in the following challenges
Amour...which is LOVE in French..and my banner is all about it!
My images are all ALTERED Digital ART that I have created.

Before you go, you can check out my banner on my Youtube.
Thank you so much for visiting!!
Hugs
Heather


.JPG)