
Hello Friends!!
Heather here today and I am sooooo excited to be Guest Designing here at
I just love her Chipboard Pieces!!
My first Project of the month is my
Valentine's Day XL LOVE Tag!!

Here a couple of photos of how I brought this piece together.
To start off I used two of my digital papers
(all listed at the bottom of my post today)
that I glued down to the tag base. I used a green water color pencil to outline the top and bottom aqua papers, then added a touch of water to the areas. Did the same to the center pink area, with a red water color pencil.

I also used Carnation Red and Forget Me Not Blue Archival inks with some background stamps to stamp on my piece (please refer to photo above). Added a few drips of red water color paint and Juliet Lace.
Below you can see that I have covered the chipboard pieces with a coat of gesso. I will be using the banner pieces in another project this month :0) Notice I used my crop o dile to punch 1/4 inch holes in my hinges.

Below I added one of my Dream Bingo images that I stamped and used water colors on. I have applied some pop dots to the back of my chippy pieces.

Below you can see how I added some water color paints to my chipboard pieces. I used pink, greens, yellow, red and blue water colors on the scribble piece. You can see how the leaves are coming along on my hinges.

Covered the pieces with a gloss medium and did some doodling. I threaded the red gingham through the end of the hinge (ribbon is now doubled and wrapped around the back of my tag), then one end up through one hole and the other end through the other hole...then I tied the bow.

The rest of my pieces were just placed on my tag with pop dots etc.
Here are a couple close ups of my piece.
You can see below one of the hinges I used. Simply painted it with White Gesso, then added some green too look like leaves..and a touch of blue...for some depth. My whole piece was covered with Clear Gel Tar from Golden Acrylics (you could use a gloss medium, in the same way).
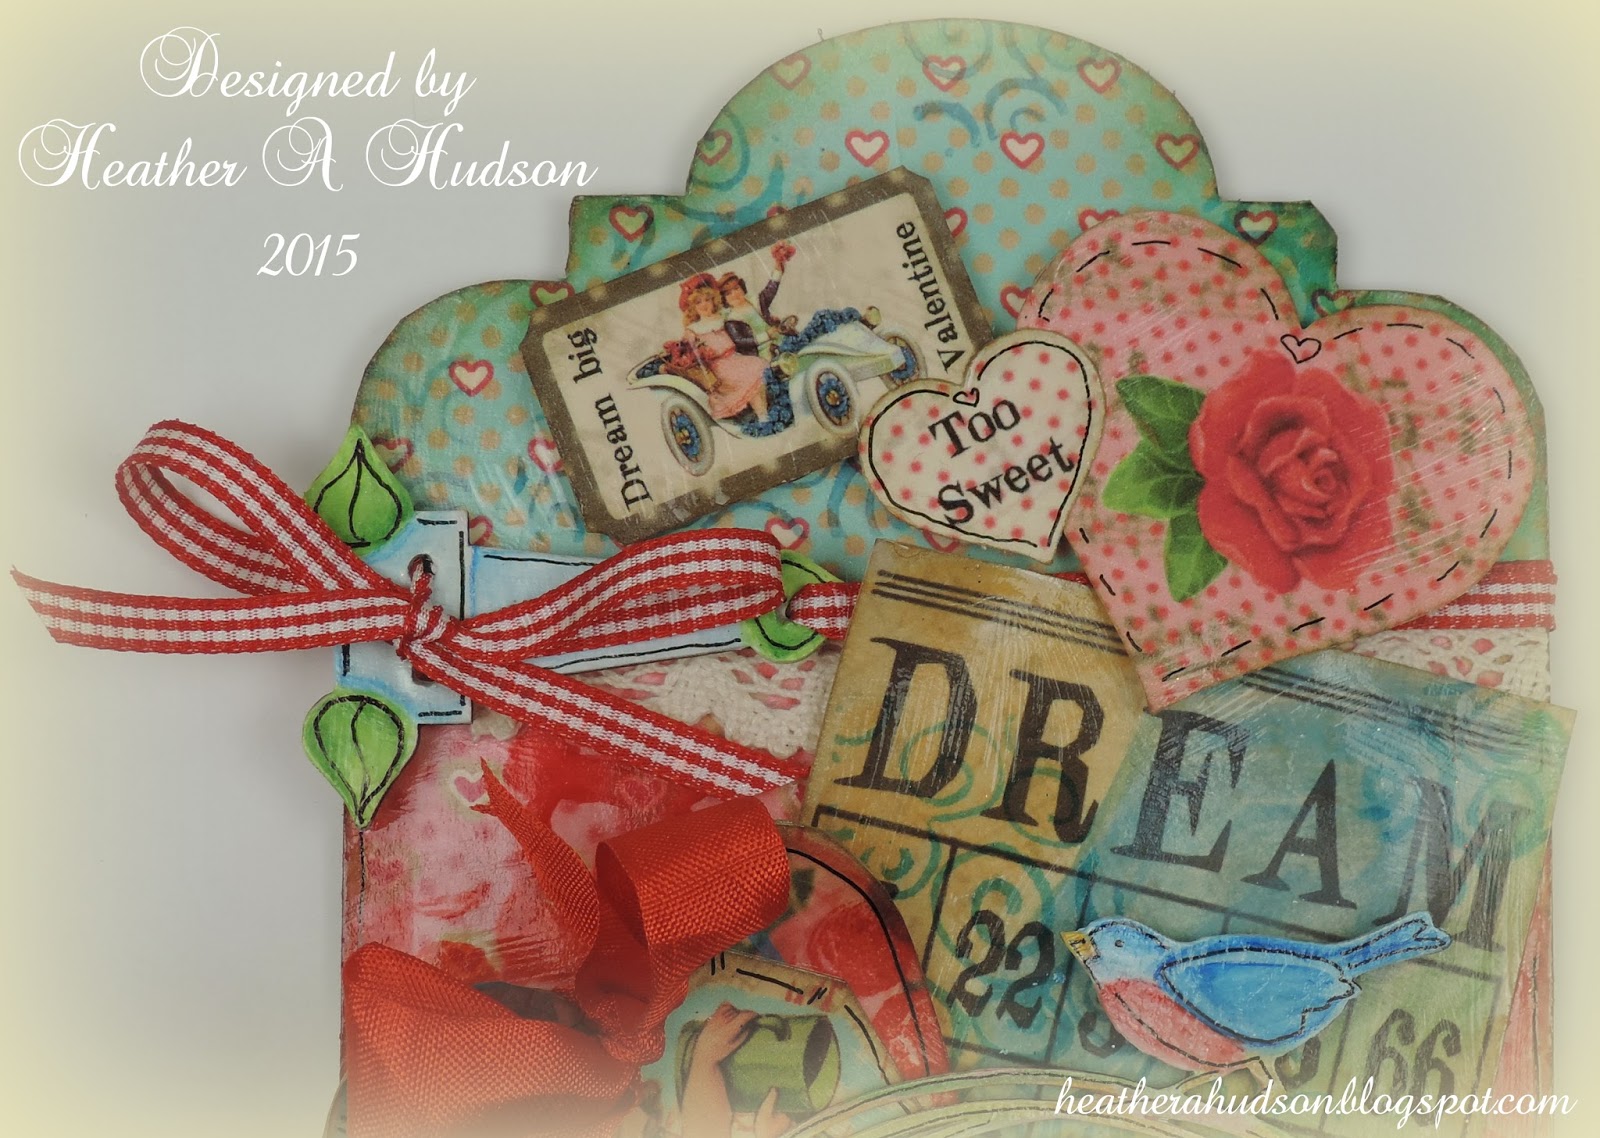
I decided to doodle on pretty much all of my tag pieces...using a Pigma Black Micron Pen. Below you can see that I used pop dots on the back of my Round Focal and scribble bird (see above for placement), and watch your placement, because the extra heart tag needs to be able to slide in.

As soon as I saw the brick sheet of Gina's....I new I would be using some of the bricks for Sentiment Blocks...yummy!! They were painted with Gesso, Water colors and then my text boxes applied ..pop dots added to the back so they would add more depth to my piece. You can get a pretty good look at my doodling below.

I just love the Typewriter letters in GOLD!! I just glued them on as is...then glued the one leaf chippy part to the top of the letter "L". The best part is that you can order the letters that you WANT...wooo hooo...so no more letters you don't use...that go...hmmm...what can do with this?? LOL

My heart tag in the center is of course is removable.

Here are the links to all the fabulous pieces of chipboard I used
Here are the links to all the fabulous pieces of chipboard I used
I have also used
All images and papers are ones that I designed.
I hope you have enjoyed my post today!
You for sure should hop on over to Gina's blog and check out her chipboard!!
You for sure should hop on over to Gina's blog and check out her chipboard!!
Thank you for visiting today!!
Hugs!!
Heather
Wow Heather, you really did an amazing job!!
ReplyDeleteI so love this piece! Great tutorial...love all the details & layers!
ReplyDeleteBOLB Hugs!