Hello Peeps!!
Happy Friday!!
Today I thought I would share with you some of the Flower pots/ hanging baskets and Feed Sacks that I have planted.
Last summer I didn't get around to planting much because I was so busy with work and the 5 Design teams I was on. So this year I have taken the summer off from a lot of my paper crafting so I can play in the dirt :0)
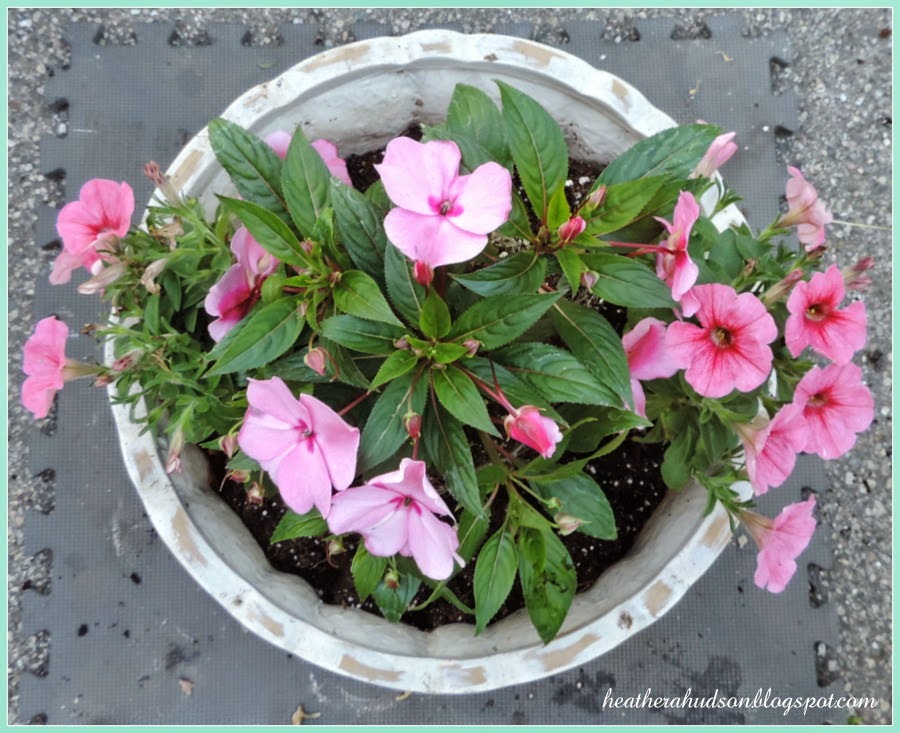
Here is one of two flower pots that I planted on Thursday.
I tend to like Red, White and blue flowers...with Pink :0) Every year I say I will do something different...but it always ends up being the same colors...lol.
Today I thought I would share with you how I go about potting my flowers.
Here is what I used for the pot above.
Flowers
- 12 cells of blue lobelia (tiny cell packs or flat)
- 12 cells of white alyssum (tiny cell packs or flat)
- 2-bublegum pink Proven Winners petunias (4" individual pot)
- 4-red wave petunia (6 per pink container pack)
- 1-pink new guinea impatiens (half gallon container)
- 2-white Proven Winner's superbells (4" individual pot)
I like to start out with a pretty pot that doesn't weigh very much. Otherwise you will need to plant your container where you will be placing it. They can get heavy. One trick that I use to keep the weight low..and the amount of top soil down...I will crush up some of the plastic flower cell packs and fill the bottom of larger containers with them...then put in my potting soil. I fill my up my pots to about 3-4 inches from the top rim. Seems just the right height for the flowers to sit in. You can just use one of your flowers as a guide.
I take all of my flowers out of their containers and break up the roots a bit...kind of root bound in the containers.
I put my New Guinea Impatiens in the center of my pot.
Next I placed my two Bublegum Pink Petunia's in the pot. One at 3:00 and the other at 9:00 (I am using a clock as a reference here).
Here is a side shot photo. So you can see what things look like from the dirty point of view...lol.
Next I added my Red Wave Petunias. They are placed at 2, 4, 8 and 10:00.
Next are the White Superbells. I placed them at 12 and 6:00.
Next we will tuck in some Blue Lobelia and White Alyssum.
To keep it simple, I am planting 2 cells of the Blue Lobelia between the Pink Petunias and Rim of the container.
Here is how that looks.
I am planting 3 cells of White Alyssum in front of each of the Red Petunias.
Here is how that looks.
Now if you look at the photo above, you will see we need to add some of the Blue Lobelia (to break up the White Alyssum and White Superbells) So I am also planting 2 cells of the Blue Lobelia on either side of the White Superbells, toward the rim of the container. So it is mainly filling in any open space toward the rim of your container :0). I tend to add a lot of flowers to my pots ect...so feel free to not do so many, they will fill in as they grow...I tend to like mine over spilling with blooms later in the summer.
I just LOVE flowers!!
Here is a look from above.
I did two the same way and placed them on two of my outdoor tables that I gave a fresh coat of paint too. You will notice that I didn't add any vincavines to my containers here...because the last time I did they grew through the wholes of the table and made it difficult to move the pots when needed...lol.
Here is the other one. Sorry I grass is not the best...lol. Our yard is really woodsie...and difficult to keep the grass going in all areas. I have been after the hubby for a sprinkler system for 7 years...lol. Maybe more!! I did just get that new truck...so....maybe next year :0)
Tomorrow I will share with you my Hay Sacks and a couple other pots I planted.
Thank you for visiting!!
Hugs
Heather


Looks pretty, Heather! Isn't planting fun and relaxing? I love playing in the dirt too. Our weather is so hot and summer lasts into October, so potted plants have to be babied here in So Ca. It would be nice to have some kind of drip system but it always seems like we will do it 'next year', like your sprinkler system. SO nice to have flowers to cut and bring inside during the summer- enjoy your yard! :)
ReplyDeleteYour pots are just as beautiful as everything else you create!! One of the tricks I used for years is to take those dried sponge sheets that we used to use of cutting shapes for painting...remember them? Cut strips of the flat sponge and place them in the pots-either around the bottom or the sides=a coup;e per pot. It will absorb water and store it for the plant's use when it starts to get dry. Really helps the plants. This year I did not do it as I am out of it. You can use small pieces of sponge too. Will have to collect some ahead for next year. also one year I tested the little beads that hold water and they worked well too. Our back yard is really sunny in the summer and these things help the plants if you do not water a lot.
ReplyDelete