Hello Friends!!
Today I would like to share with you my take on a
CAS Card
Those of you who follow me ...may go...was is CAS? LOL.
I did for a long time.
It stands for
Clean and Simple
Unfortunately this is not an easy style for me.
So here is my attempt at a CAS Card.
I think it is ADORABLE!!
As promised yesterday...I created with my new
I think it is ADORABLE!!
Not only that, but it will fit easy peasy in an envelope.
THAT never happens here.
So in my own way...this is CAS.
As promised yesterday...I created with my new
I will admit my card started out super clean...but I had to ink it. So...I still think it is SIMPLE. In that I finished it in less than 5 minutes.
I will try a CAS challenge just to see....if it gets thrown out...lol.
Here are a couple close ups below.
I used the Arianna Natural Crochet Lace from this month's Really Reasonable Ribbon Assortment and Champagne Twill also from RRR.
Here is how quick it went together.
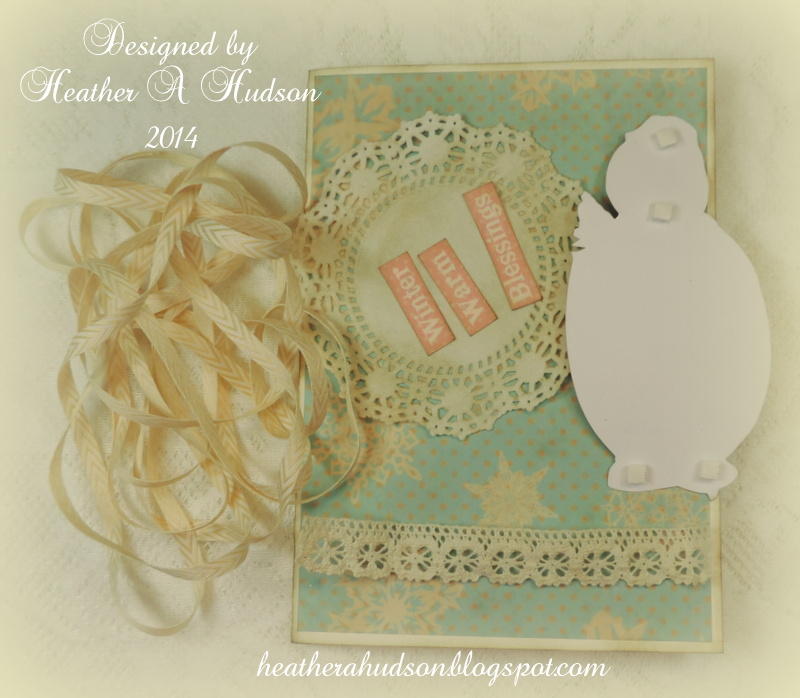
First cut out your pieces. I inked my edges with Ranger's Frayed Burlap. At least I did everything except the background snowflake paper.
Here you see everything is inked. I added Tombow Foam tabs to the snowman image to elevate it over my lace and ribbon.
Glued down my lace and doily where I wanted them to go. I also removed the backing from the foam tabs behind the snowman's head and placed him where I wanted him. Left the bottom tab papers in place so I could easily glue down the ribbon.
I cut a piece of the ribbon slightly longer than my card base. I took another smaller piece of ribbon and tied a knot/bow onto the longer ribbon. You can slide this bow where you want it on your longer piece of ribbon. I figured out where I wanted it to go, and glued it down. Trimmed the edges and added two vintage buttons at the top. I didn't even add any baker's twine, so that too is simple in my eyes :0)
On a totally other note....I did a video of some of my Thanksgiving Projects that you can see here.
Now don't forget, if you create a Winter/Christmas or Thanksgiving Piece, you can link it up to Challenge #13 on my
My Artistic Adventures Challenge Blog.
You can also play along with the RRR Challenge
Winter Holiday and Ribbon
and the
Gecko Galz
Christmas Joy Challenge
I will be playing along in the following challenges
Thank you for visiting!!
Hugs!!
Heather


so pretty in pastels! love your CAS! Helene
ReplyDeleteYou know already that I am in love with these snowman and this is such a pretty card to showcase the image. LOVE it!
ReplyDeleteThese snowmen are stinking cute! Can't wait to play with them!
ReplyDeleteGreat video too...saw it on my kindle before....or in bed last night! LOL
BOLB Hugs!
I'm with you! CAS is sooo hard. I
ReplyDeletem always wanting to add some more bits and bobs. Valiant effort, LOL, and sooo adorable. xxD