Hello Friends!!
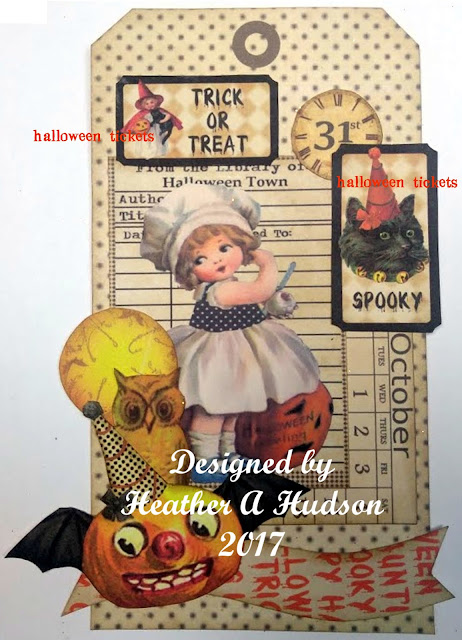
Sharing another Vintage Halloween Tag Tutorial.
I have the step by steps for the layering here on my blog....
and the glittering is in a video on youtube :0)
I have used the following Collage Sheet sets from the
I have used the following Collage Sheet sets from the
I started out with one of my Large Halloween Ticket Bases, Halloween Library cards and the calendar from my Halloween Embellishments set. All my edges were inked with Ranger's Frayed Burlap distress ink.
Next I layered on the moon and a curvy Halloween banner.
Added the owl and then my Batty Pumpkin :0)
But I didn't glue down his wings all the way....cause I was going to tuck something there.
Added the 31 clock, then layered on two of my Halloween Tickets to the top of the tag.
I added two candy corns in the upper left...lol...I know I covered up that sweet little witch on the ticket...but that is okay :0) I added the butterfly in the upper right and tucked in one more candy corn under my batty pumpkin on the bottom.
This time I decided to use some of my tiny text boxes to do a sentiment. I also started to add Fauna glitter to my Candy Corns, tag base and pumpkin's hat.
That is it for my layering all my pieces together. You can watch my video below to see how I glittered it all up!
Thank you for visiting!
Hope you find some time to be
ArTisTic!
Hugs!!
Heather


I love all these adorable Halloween tags & banners!! So super cute!!!
ReplyDelete